May 31, 2010

Bubble Tea

 
I had my first bubble tea back in freshman year of college.  At the time, bubble tea was just starting to become popular in the U.S.  Throughout college, bubble tea became a staple in my life.  Starchy balls in sweet tea.  What could be better?  Then, my roommate (who now happens to be my maid of honor) made bubble tea at home one day.  This blew my mind.  It's like seeing a famous celebrity in your living room. 

So, i knew this could be done.  But I didn't try it myself until yesterday, when I saw these bubbles at the Asian grocery store.


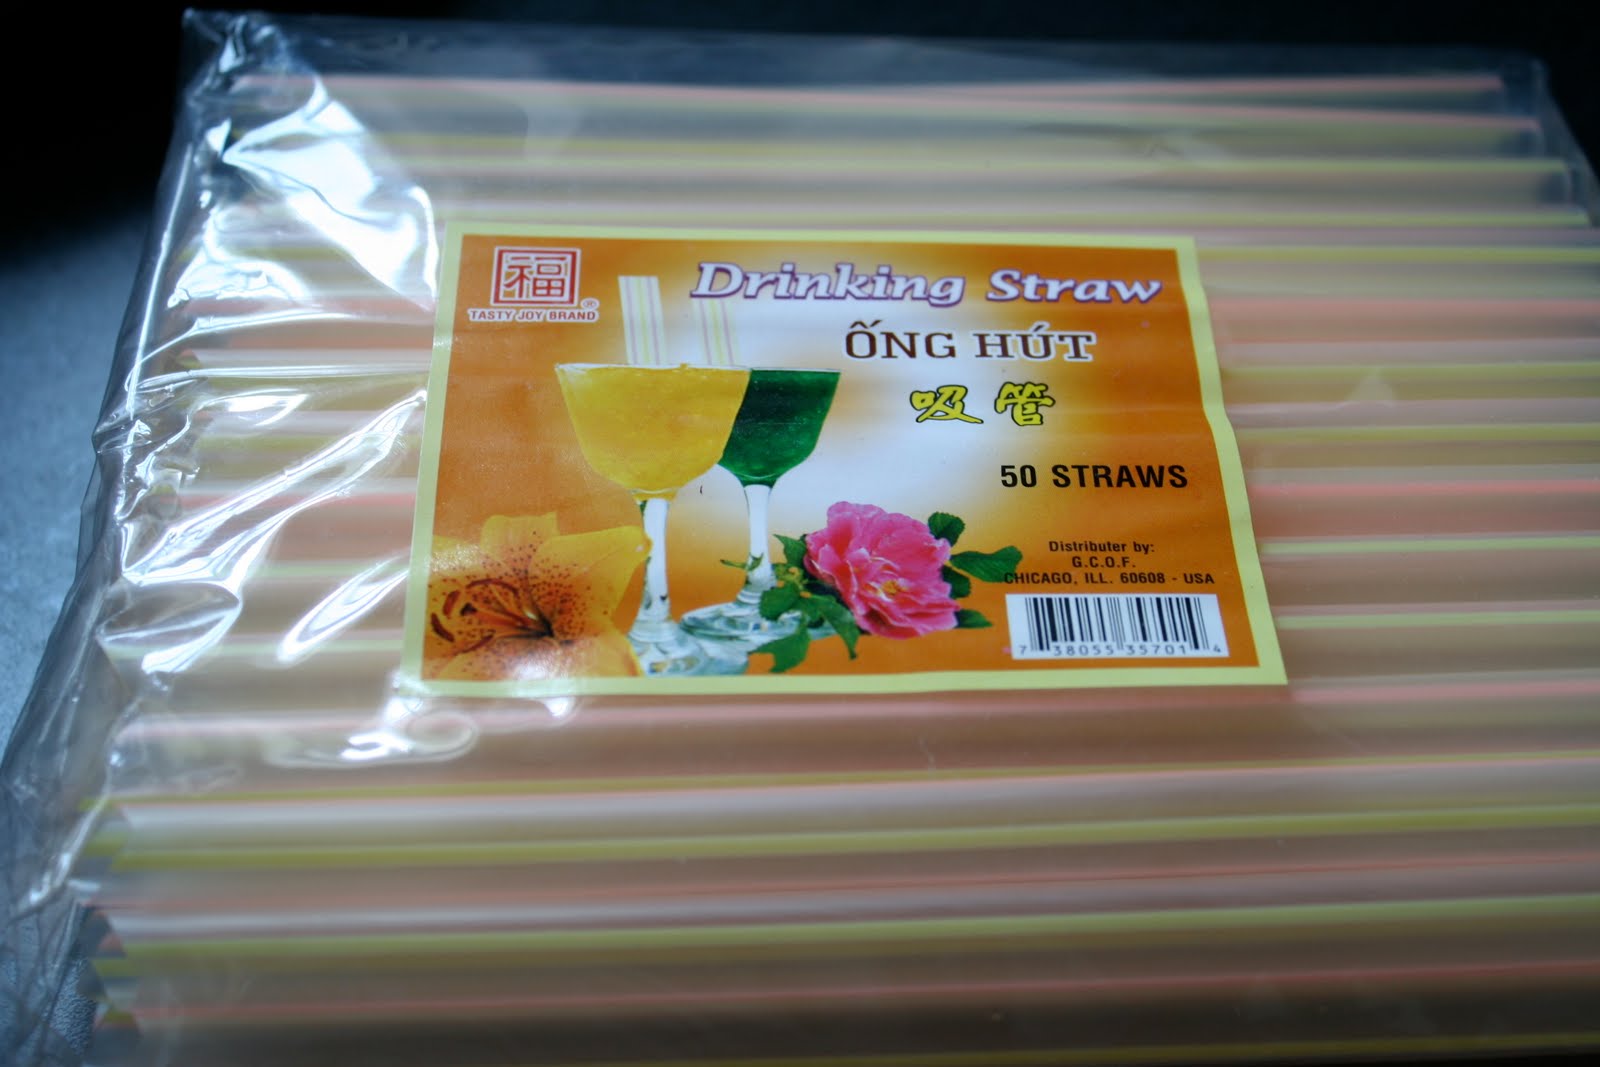
I just had to try these.  And I also found bubble tea straws for like $2.  It was meant to be.


Ingredients (1 tea):
-1/4 cup dry bubbles
-2-3 cups of water
-iced tea (or milk tea)

1.  First, brew a glass of tea and ice it!  Or you can make milk tea by adding sweetening and milk into strong black tea.  I used country peach tea that I sweetened with Japanese sugar crystals. 


P.S.  How much do you love bubble straws?


2.  Bring water to boil.  Here's what the bubbles look like dry. 


Pretty neat.  I didn't try to eat one straight, but now I wish I had, just so I could talk about it.


When the water is boiling, add bubbles and stir gently.

3.  When bubbles plump up, reduce heat to medium low and cover.  Let simmer for 5 minutes.  Here's what it'll look like afterwards.


4.  Taste one of the bubbles.  It should be chewy all the way through.  Remove from heat. 

5.  I used a slotted spoon to strain the bubbles.  How cute are these?


Then I put them right into my tea.  Easy as that!


And that's that.  Just 5 minutes of simmering, and dropping them into tea.  You can do that, right?


The trick, then, is finding the bubbles and the straws at the store.  You can probably find these in most Chinese grocery stores, since bubble tea is more popularized in the U.S.  Just ask for it.  The little store I went to had both these ones, and the colored bubbles, which are really pretty too.  I just chose to get my standard favorites.


And seriously, the package of bubbles (which cost two bucks) had like 12 servings worth of bubbles in it.  An awesome deal, considering bubble teas are usually $3-4 at the store. 

Enjoy!


For a printable version of this recipe, please click here.

May 28, 2010

Fondant Recipe

By popular demand, I decided to make a separate post on the making of fondant itself.  Since I learned this recipe from my friends Kata and Corrie as they were making their marvelous topsy-turvey cake, I don't have a recipe, per say.  I'll try to quantify it for you, but a lot of these will be based on description.

Ingredients (covers one 9 inch three tiered cake plus all the decorations):
-1 bag mini marshmallows (get the good kind, don't use the stuff sitting around in your cabinet from your camping trip 2 years ago)
-1 tsp water
-approximately 1 lb powdered sugar
-food coloring
-some Crisco for rubbing on your hands and rolling surfaces (not to eat, don't worry)
-corn starch for keeping it from sticking

1.  Put marshmallows in a microwave safe mixing bowl.  Splash the water in it.


2.  Put it in the microwave 15 seconds at a time and stir in between sessions with a wooden spoon.  Do this until the marshmallow is all melted.  Do not over-microwave.  It will probably take about 4-6 sessions in the microwave before it is all melted.


3.  Now, add powdered sugar, but little by little.  At first, about a cup is good to start.  The marshmallow will stick to everything, but that's fine.  Just keep stirring.


4.  Add more and more powdered sugar.  At some point, it will be substantial enough and cooled enough to work by hand.  Still mushy, but it should be manageable. 


5.  Rub Crisco on your clean countertop and on your hands.  Take the mushy ball of fondant out onto the counter. 


Add more powdered sugar and knead.  The sugar will get everywhere if you put it in the dough, fold it over, and press.  Avoid this by gently working it into the fondant little by little.  Add more Crisco to any surface or hands if it starts to stick.

6.  Once the ball gets to the consistency of playdoh (but not too tough, or else it'll rip), stop kneading. 
If you are using food coloring to change the color of it, do it at this stage.


7.  Now you can dust your surface with some corn starch, and roll out the fondant to cover your cake. 


Here's a yellow one.


8.  Roll out your fondant with a fondant roller (for best results) or rolling pin. 


Roll it back onto the fondant roller to transport it to the cake, and cover the cake from one side to the other, pushing out any air bubbles along the way. 


Smooth out the bottom and cut with a fondant cutter, pizza roller, or sharp knife.  Now you have a clean slate to work with.  Hooray!

Some guidelines:
-Don't put the cake in the fridge/somewhere cold after you cover it with fondant, because when you take the cake back out into normal temperature, the cake will start to sweat, and get trapped under the fondant, creating a nasty mess. 

-Make sure to let vegetarians know the pretty flowers and such are made with marshmallows (=gelatin). 

-If the fondant is too mushy, add more sugar.  If it's too tough, add a little water. 

Enjoy your time with this fun way to decorate cakes that makes your creation look super professional!  Thanks again to Kata and Corrie for introducing me to this method!


For a printable version of this recipe, please click here

May 26, 2010

Spotlight: Steamed Mandoo

Once in a while, my mom buys these frozen, pre-cooked steamed mandoo (steamed buns filled with beef, veggies, and noodles) and makes one or two for each of us.  They are about 150 calories each, and they really serve as a yummy and filling snack.


You can buy these at your nearest Asian market.  They usually come frozen like this.


You might want to give it a quick rinse in water so it doesn't dry out in the microwave.


Then microwave it for a minute.  In the meantime, prepare a little dish of soy sauce, vinegar, and red pepper powder.


Okay, so here's the mandoo. 


Here's what it looks like on the inside. 


Yum!


Dip a piece of it in the soy sauce.


Delicious!

Try these out sometime!  It takes zero cooking skills, and they are great snacks for between meals.  And let's be honest, you need more Asian persuasion in your life.  Get to it!

May 22, 2010

Basic Yellow Cake

So yesterday was our Korean engagement party!  It was also the first time that our parents met each other, so it was a big deal.  And, being who I am, I decided to make my own engagement cake for this occasion.  I wanted to make a 3-layered (not tiered) cake and just kinda keep it sleek and simple, but elegant.  My mom has a cake decorating book, and we picked a recipe from there, but the attempt turned out just awful.  I nearly had a panic attack.  But then I found this recipe online, and it's one of the best yellow cakes I've made.


Here is the recipe for the cake. 

Ingredients (for two 9-inch rounds):
-2 sticks of butter, melted
-1 1/2 cups sugar
-8 egg yolks (save the whites and make an egg white scramble with them)
-3/4 cups milk
-1 1/2 tsp vanilla
-2 cups flour
-2 tsps baking powder
-1/2 tsp salt

Preheat oven to 350F.
1.  Sift flour, baking powder, and salt together.  Set aside.

2.  Cream the melted butter and sugar until well combined. 


3.  Add a yolk, one at a time.


4.  Add vanilla.


5.  Alternate milk and flour mix until you get a nice thick batter. 


6.  Pour into two greased 9" rounds.  Don't try to bake it all in one pan.  I did that and it sucked.


Bake for 20-25 minutes or until center comes out clean.

-------------------------------------------
Okay, so that's the basic recipe for a delicious yellow cake.  You could just cool them, frost the top of one, plop the other layer on it, and frost the whole thing.  That could be it.  But I didn't stop there.

I baked 3 rounds and leveled them with a cake leveler.


(Yeah, the weird one above that is all weird and kinda burned on the sides is because I baked the first two rounds in one pan instead of two.  Don't do this.  It takes forever to bake.)

Okay, then I cooled them and wrapped them up for the night.  The next morning, I started work on it again!


I frosted the in between layers, and plopped one right on top of the other!  Then i frosted the whole thing.


It doesn't have to look super pretty or anything, the icing is just for the fondant to stick to.  I did kinda go around the sides with a knife to even things out. 


There!


Okay, then I made some soft yellow fondant, which you can learn about here.  And I covered the cake in the fondant and smoothed out the pleats a little on the bottom, then gave it a trim. 

I also cut some ribbon to go around the bottom of the cake.  Isn't that pretty?


My mom made some big yellow flowers to put on the cake.


I painted the inside of the flowers with a little food coloring made of yellow and red dye.  I dropped in a few of my favorite little candy pearls that make it look like the flower stamens. 


The leaves I made from just pulling some green fondant between my fingers and pinching them off.  I would love to have shown you a picture, but I needed both hands to make them.


There!


That was our pretty little Korean engagement party cake.  Korean modifying "engagement party", not "cake".  The cake is pretty darn American.

Just thought I'd clarify my adjunct usage.

Okay, back to the cake.


Everyone loved it!  Even our server at the restaurant was impressed with how it turned out.  I couldn't have done it without my mom, who actually ended up rolling the fondant for me after I got frustrated with it.  And she made the flowers and thought of the creative stuff.  But yes, we made a good team :) 

It was a wonderful way to celebrate our engagement with our families!  Hooray!

For a printable version of this recipe, please click here

Other posts you might like:

Blog Widget by LinkWithin