November 30, 2009

Guilt-free Soup


Okay.  If you are like me at all, you are probably feeling like you ate a little too much over Thanksgiving.  Granted, it was fabulous, but it's time to spring right back into being healthy, or else you'll fall into the "oh, it's almost Christmas anyway" trap that I tend to fall into this time of year.

Good news: one of the most filling, healthy, and perfect-for-winter foods in the world is your good old soup.  A pot pot of soup is really just mostly water, and the rest is good healthy vegetables and beans to nutrify (yes, i did) your pretty little self. 

Ingredients:
-1 cup mushrooms, chopped
-1/2 onion, chopped
-2 tbsp wild rice
-1 tbsp dry white wine
-3 cups water or low sodium broth
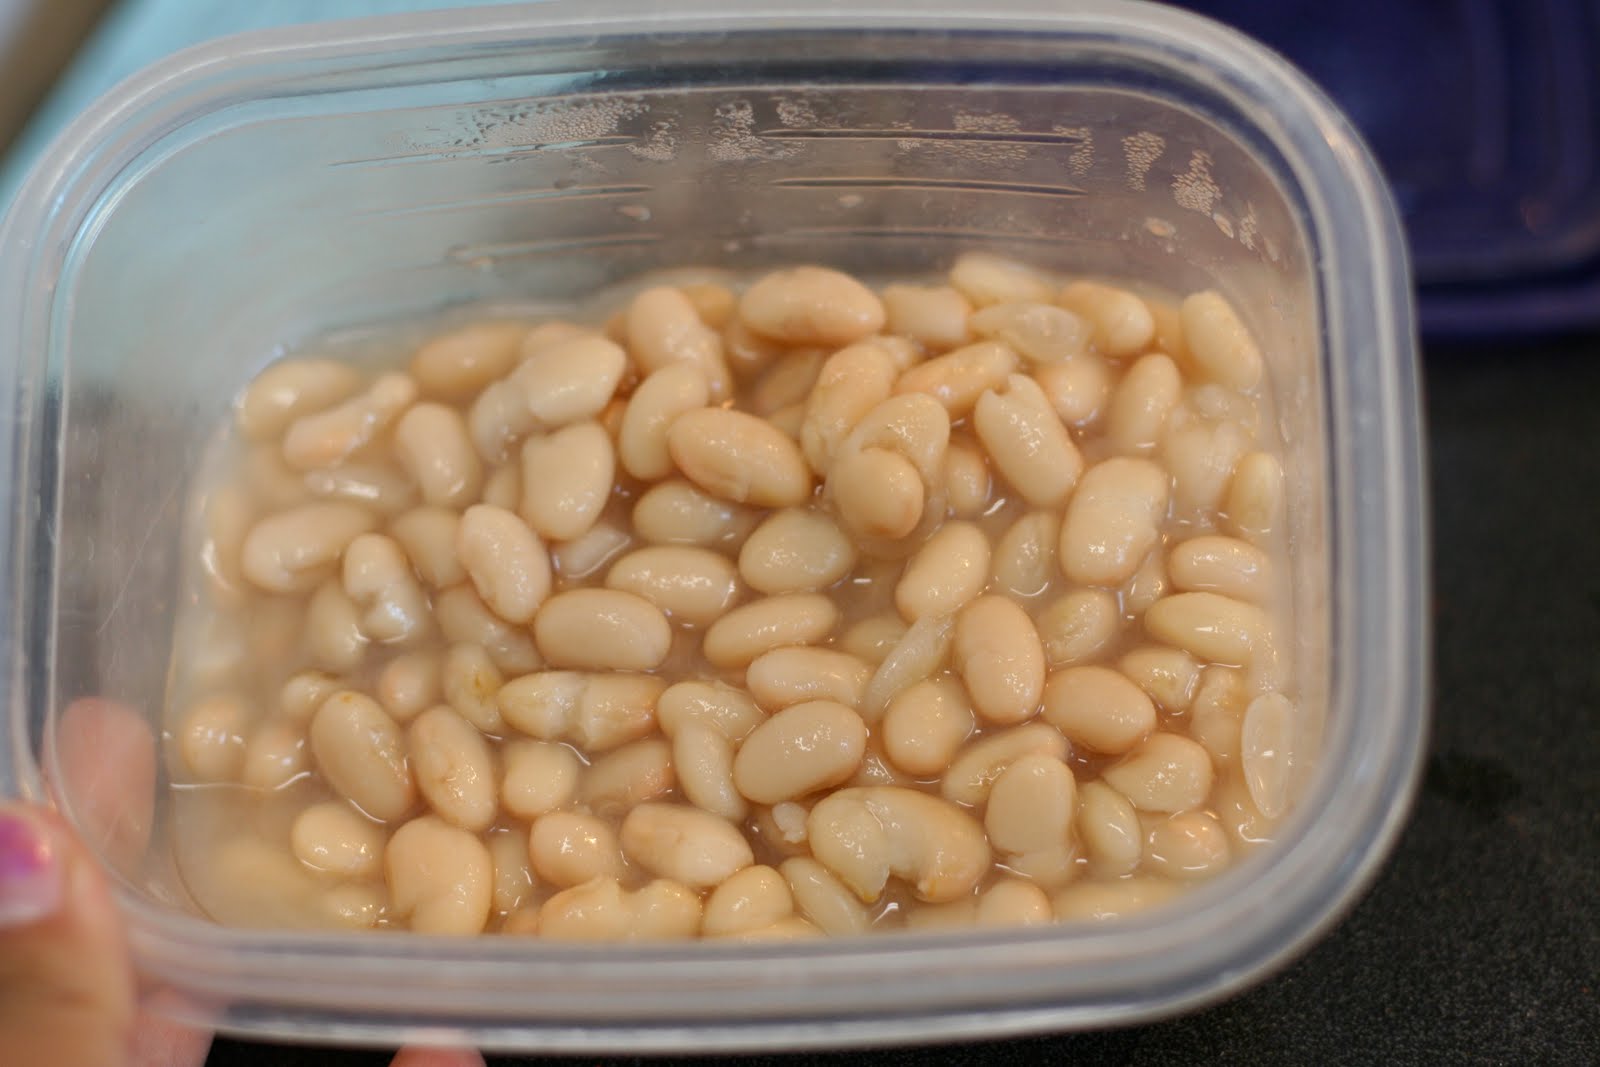
-1 cup great northern beans, rinsed and drained
-1/2 cup frozen peas
-a sprig of a fresh herb (i used sage, you can use pretty much anything you like)

1.  Chop your mushrooms and onions.


2.  In a medium pot, spray bottom with non-stick spray, then saute onions and mushrooms on high.


3.  Add wild rice.  You can use whatever kind of rice you want, really.  Continue stirring until rice, onion, and mushroom are well coated with the spray.


4.  Splash your white wine into the pot.  Watch out for the steam!  Stir until wine has evaporated.


5.  Add water and beans.  Allow to come to a boil, then reduce heat to medium and simmer until rice is tender.


6.  Add frozen peas and fresh herb.


7.  Remove from heat and serve hot. 


Mmmm.  Hot, healthy, packed full of nutrients and not a lot of calories! 

More soup recipes to come :)  It's my absolute staple during the cold midwestern winters. 

For a printable version of this recipe, please click here.

November 26, 2009

Happy Thanksgiving!

Today I just want to take a pause from recipe-posting and say to all my readers how grateful i am that you're out there reading my posts day after day, encouraging me via comments or in person, and sending me food, recipes, and ingredients to use.  This blog is such a great escape from the doom-and-gloom life of a grad student, and the fact that you all continue to read it gives me something to look forward to :)


Have a wonderful thanksgiving with your family, friends, loved ones, and pets! 

November 25, 2009

Jello Cake aka Poke Cake


Over the summer, my friend Jen, another fellow grad student here, brought this amazing Jell-O cake to a potluck picnic.  It was so delicious and wonderful, I asked her for the recipe, and she graciously shared it with me.

I decided to make it for an early thanksgiving potluck last week.  That's where i learned that it can also be called a Poke Cake.  The wonderful thing about this is that it takes 3 main ingredients, and you can do it in small stages so that you don't have to spend hours in the kitchen.  You do one step, walk away for however long you want, do another step that night, and finish it off before you serve it.  So easy!

Ingredients:
-1 box white cake mix
-(whatever you need in order to bake the cake according to directions...usually a few eggs and a little oil)
-1 4oz box of any flavor Jell-O
-1 tub whipped cream

1.  First, bake the cake in a 13X9 pan.  I used a glass pan so you can see the pretty colors along the side.  Once cake is done, cool it for however long you want.  I just set it on the counter overnight.


2.  My favorite part.  Take a fork and poke the crap out of it.


Any recipe that allows me to stab something with a fork repetitively is okay by me.


Woohoo!


3.  Okay.  Prepare Jell-O mix just like it says in the package.  I used strawberry flavored, but any flavor works fine.  The red just shows up really nicely.


Once it's kinda cooled off, pour it over the cake.


On a similar note as before.  Any recipe that allows me to watch a liquid absorb into a solid is really okay by me. 


I think i made this cake just so i could poke and watch jello juice absorb.  Hm.  Selfish.

Er, anyways, here's the pretty pink cake :)


Cute.  This would work nicely for valentine's day.


4.  Leave cake in the fridge to set.

5.  Before you serve, spread whipped cream (i used fat free cool whip) on top.


DONE!


Yum!  What an easy and fun dessert to make!


Next time, I'll actually read the recipe and use a 4oz packet of Jello instead of the 6oz.  Haha I suck at following recipes.  Isn't it ironic.  [Cue mid-nineties song]


I was able to serve the leftovers the next day at my Settler's party, which made me doubly happy.


Mmm.


Thanks for the recipe, Jen! 


Have a great Thanksgiving, everybody!


For a printable version of this recipe, please click here

November 24, 2009

Blue Cheese & Chicken Pita with Sprouts and Walnuts


It's almost Thanksgiving and there may be a tendency for people to just kinda give up on being healthy this week because Thursday will "undo" it somehow.  Not so, you of little faith!  This is what I've been eating for lunch since Sunday, and it's a wonderfully healthy and delicious meal that takes no more than 5 minutes to assemble each time.

Ingredients:
-1/2 whole wheat pita
-1 tbsp crumbled blue cheese
-1 tbsp chopped walnuts
-1/2 cup alfalfa sprouts
-1 oz deli chicken


1.  Toast your whole wheat pita. 


2.  I love sprouts.  They are amazing and crunchy and have a bitter and fresh aftertaste...perfect for sandwiches!


Take a small handful of alfalfa sprouts.  Wash them in a bowl and pat dry on a paper towel.


3.  Put the sprouts in a bowl, and add blue cheese.  Remember this guy?


I love blue cheese!


4.  These are the walnuts I used.  They're found in the baking aisle.  You can also use almonds or whatever kinda nut you happen to like.


Let's get this straight.  I'm not a walnut person, nor do i really like any nut.  Like, i'm not one to just sit and eat nuts.  But these add a crunch and depth to the sandwich that is just wonderful.


In a small pan, toast the chopped walnuts.  Just roll them around in the pan till they develop a nice brownish color all around.  This process makes all nuts taste absolutely amazing.


5.  Add the nuts to your bowl. 


6.  Once pita is done being toasted, stuff with a slice or two of chicken.  I got mine from the deli, and it's a BBQ chicken...so it's a little sweeter than normal. 


7.  Stuff the pita with the sprouts, blue cheese, and walnuts.


And you have a fabulous lunch that is just out-of-this-world! 


You have a combination of sweet chicken, pungent blue cheese, aromatic walnuts, and best of all, crunchy sprouts with a fresh taste! 


You're also getting whole grains, fiber, protein, dairy, and vegetables all in one small package that "costs" you less than 300 calories.  Pair this with a small piece of fruit and you will be so totally set for lunch. 

Don't let the Thanksgiving blues get you down...do yourself a favor and eat something healthy from Monday through Wednesday.  :)

For a printable version of this recipe, please click here.

November 23, 2009

Pumpkin Pie


 Talk about getting back to basics.  I will be the first to admit that there is nothing innovative or surprising about this recipe.  But it is one of my absolute favorite foods in the entire world (this is coming from a non-dessert person, so this is big).  Maybe someday I'll get adventurous and add something else to this recipe, but for now, I'll give you the basic pumpkin pie recipe the way that i do it.  Some foods are better left nice and traditional :)

First of all, I have found that the best pie crust is the uncooked, pre-rolled kind that looks like this.


You can find this in the grocery store where the tubes of biscuits, crescent rolls, and cinnamon buns are.


Ingredients (yields 1 pie):
-1 rolled pie crust
-1/2 cup sugar
-1/2 tsp salt
-2 tsp cinnamon
-1 tsp cloves
-1 tsp nutmeg
-2 eggs
-1 15 oz can of pumpkin puree (NOT pumpkin pie filling)
-1 12 oz can of evaporated milk

1.  First, carefully unroll your pie crust across a 9-inch pie pan.  Preheat oven to 375F.


2.  Mix all the dry ingredients in a large mixing bowl.


3.  Add eggs.

4.  Add pumpkin and evaporated milk.  Mix well.


5.  Pour pumpkin mix into pie shell. 


6.  Take a fork and crimp the edges.  If any hangs over the end, you can cut it with a pizza cutter or just fold it over and have an uneven crust.  I always opt for uneven :)


7.  Bake for about 50 minutes or until inserted chopstick comes out clean.  I'd check at 40 minutes into baking just to make sure.
 
8.  Cool it.  If you have a porch or balcony, place it out there instead of your fridge, where the hot pie will spoil the other food.  But first, i'd cover the pie with a basket or large strainer (so heat can still rise out of it).   

When you're done, you get this lovely beast of fall.


Mmm.  My favorite rendition of pumpkin.  I have this with a mug of coffee with a little pumpkin flavored creamer in it.  Heaven.


Beautiful, isn't it?  And take a look at our little crimped edges...don't you love how they get so perfectly brown in the little fork-marks?


And if you are one of those people who needs to have whipped cream on the pie, you can use some fat free whipped topping.


Do a dollop.


The beauty of pumpkin pie.  Ahh.


And really, this is a much more cost-effect way to enjoy pumpkin pie.  It costs very little to buy the crust (usually comes in a pack of 2) and the pumpkin in a can.  I've seen people sell these pies (that usually don't taste as good as a fresh baked one like this) for up to $5!  That's nuts!  Make your own, it doesn't take that much time or talent.  Also, this way you can put in less sugar than the store-bought ones. 


Have a great week!  Tomorrow, I'll have a recipe for a super-healthy lunch option for the week leading up to Thanksgiving.  Don't eat unhealthy this week just because you know Thursday will be a caloric disaster! :)

(That was more for me than for you)

For a printable version of this recipe, please click here.

Other posts you might like:

Blog Widget by LinkWithin